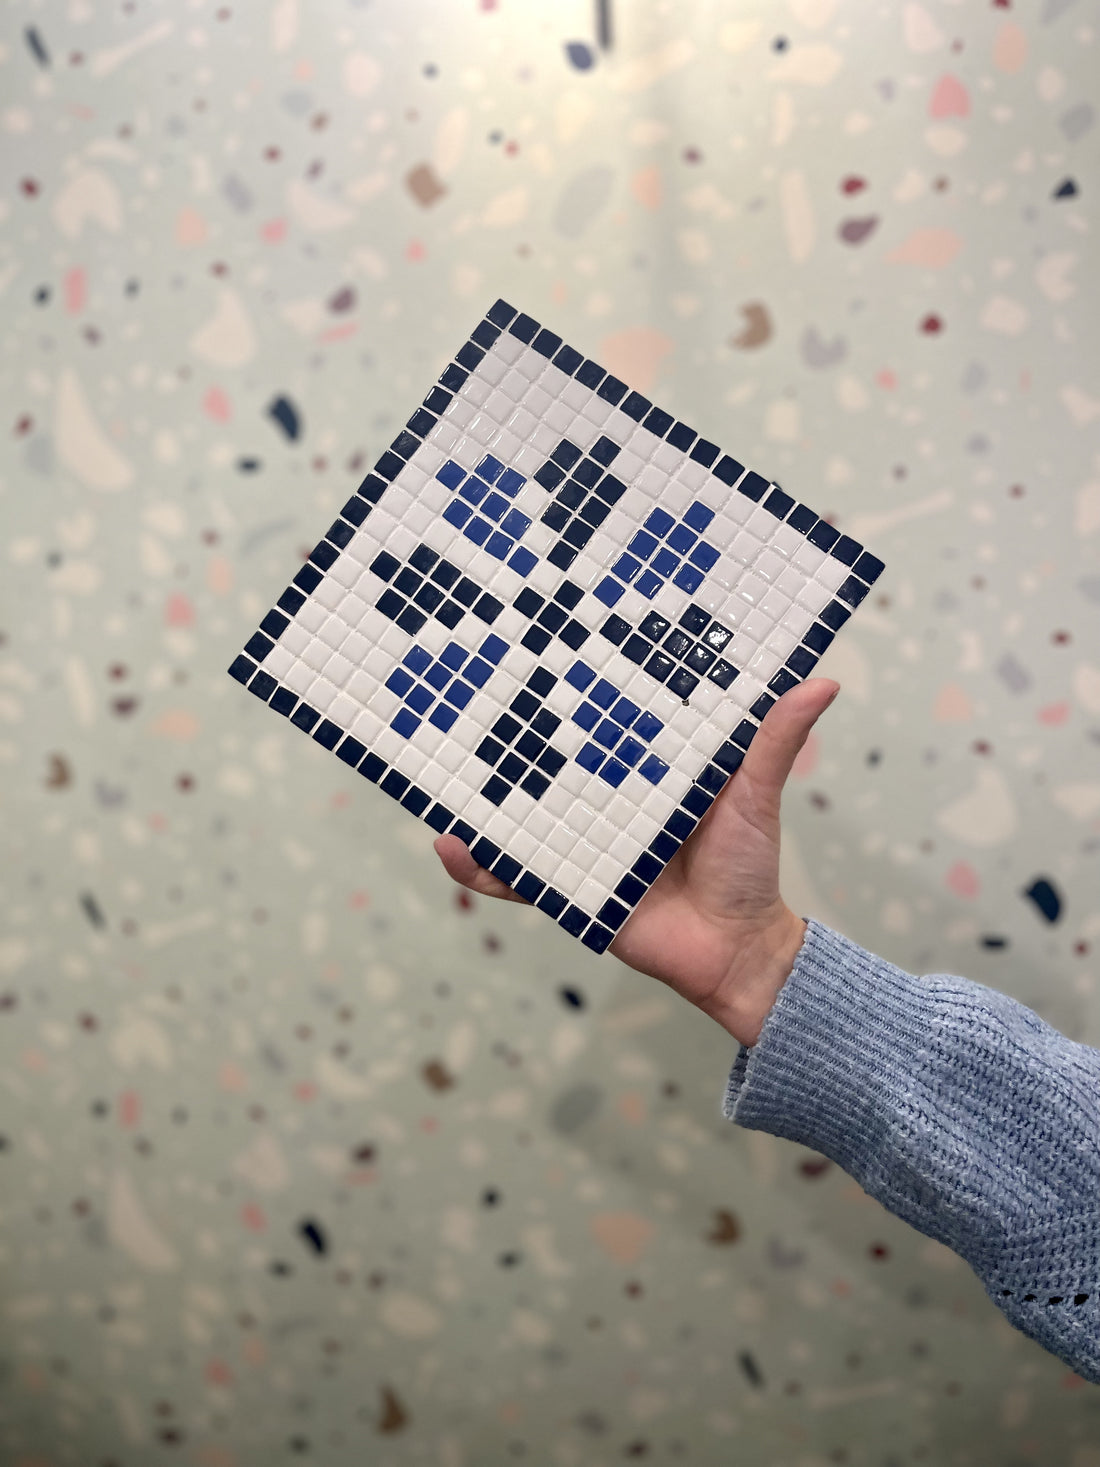
Watch our mosaic tutorial!
Step by step steps:
1 - Preparation
Prepare your workspace. Make sure you have all the materials: wooden support, mosaic tiles, pliers, tube of glue, grout powder and sponge. You will also need a pair of scissors, a container like a bowl, a spoon and water.
Following the chosen model, position on your support and without gluing, the tiles of the first horizontal line at the top, and those of the vertical line furthest to the left. Adjust the position of the 17 tiles in width and the 17 in height by leaving a similar space between each tile. Do not hesitate not to use the pliers to place the tiles.
2 - Collage
Take some glue and cut the end of the tube with a pair of of scissors in order to create a hole. Glue your tiles already positioned in step 1, starting with the top row, then with the column on the left. Then continue row by row following the model.
To fix your tiles, place a drop of glue on the back of one of the tiles. Then place it on your wooden support and repeat for each tile. Make sure to measure the amount of glue under the tiles so that the glue does not come up too much on the sides when placing them on the wooden support. The glue does not dry instantly.
You have about 5 minutes to change the position of the tiles on your support before the glue dries. Don't hesitate to use the pliers to position the tiles. If you prefer, you can also apply glue directly onto the wooden support, little by little, and glue the tiles on top. As far as possible, avoid touching the glue with your fingers so that the tiles remain clean.
3 - Drying
Once all your tiles are glued and the visual of your mosaic is finished, wait 48 hours so that your creation dries perfectly. You can then move on to the next step.
4 - Joint
In a bowl, pour the joint powder and add a little water, little by little, mixing with a spoon. Add water until you obtain a homogeneous texture like toothpaste (about 1/4 water for 3/4 joint). Apply the mixture obtained on the mosaic , and spread with your finger so that the seal fits well between all tiles. You can also apply sealant to the edges of the wooden support to have a nice finish.
5 - Cleaning
Pass the damp sponge over your mosaic to remove excess without digging the joint.
Wait at least 2h to clean again with a damp, clean sponge, and restore the shine of the tiles. If necessary, use white vinegar to clean more of the resistant joint. Let it dry again 8h before using your mosaic!


